
Tapping and Mudding
- Home
- /
- Tapping and Mudding
All Services
- Get started
- 306-450-4392
- contact@jt-painting.ca
- 2703 Pepper Drive East Regina Saskatchewan S4V 0X4
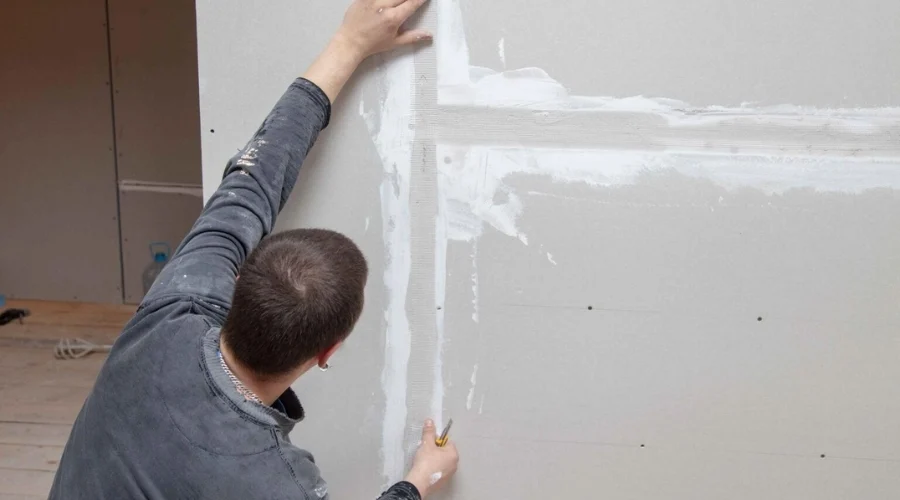
Build a Clean Base Over Drywall Joints
Drywall panels meet at seams that need careful treatment before paint can cover the wall. Taping places joint tape over these seams, while joint compound covers the tape and builds a smooth surface. The work can also cover fastener spots, inside corners, and gaps. Each coat must dry before another coat or sanding begins.
J.T. Painting and Drywall Solutions Ltd checks the board first, then applies suitable tape and compound for the project. Manufacturer guidance supports several coats for paper tape systems, with drying and light sanding between coats. Product instructions should guide the suitable method and drying time.
Services Include
- Drywall joint taping
- Joint compound application
- Seam coating
- Screw spot filling
- Inside corner treatment
- Joint smoothing
- Surface sanding
- Edge treatment
- Wall preparation
- Ceiling preparation
We treat seams, fastener spots, corners, and edges to prepare drywall for paint or final finishing.
Applying Tape to Seams
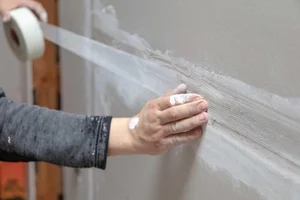
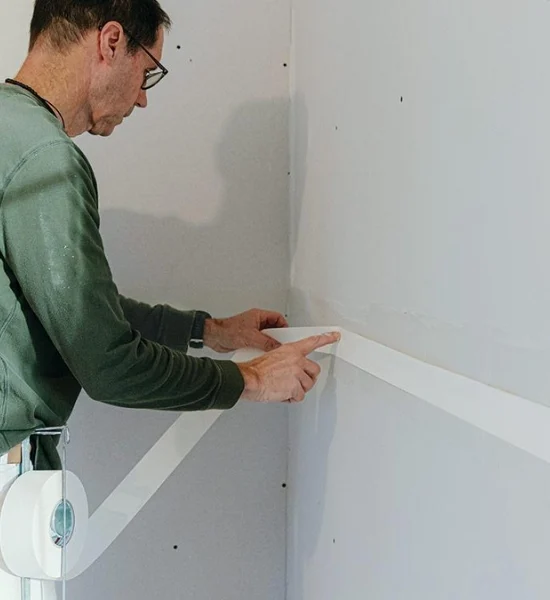
We apply tape over prepared seams and press it into fresh joint compound. Careful placement keeps the tape flat and centred, giving later coats a sound base. We remove excess material so the joint stays even and ready properly.
Building the Joint
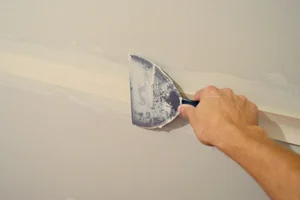
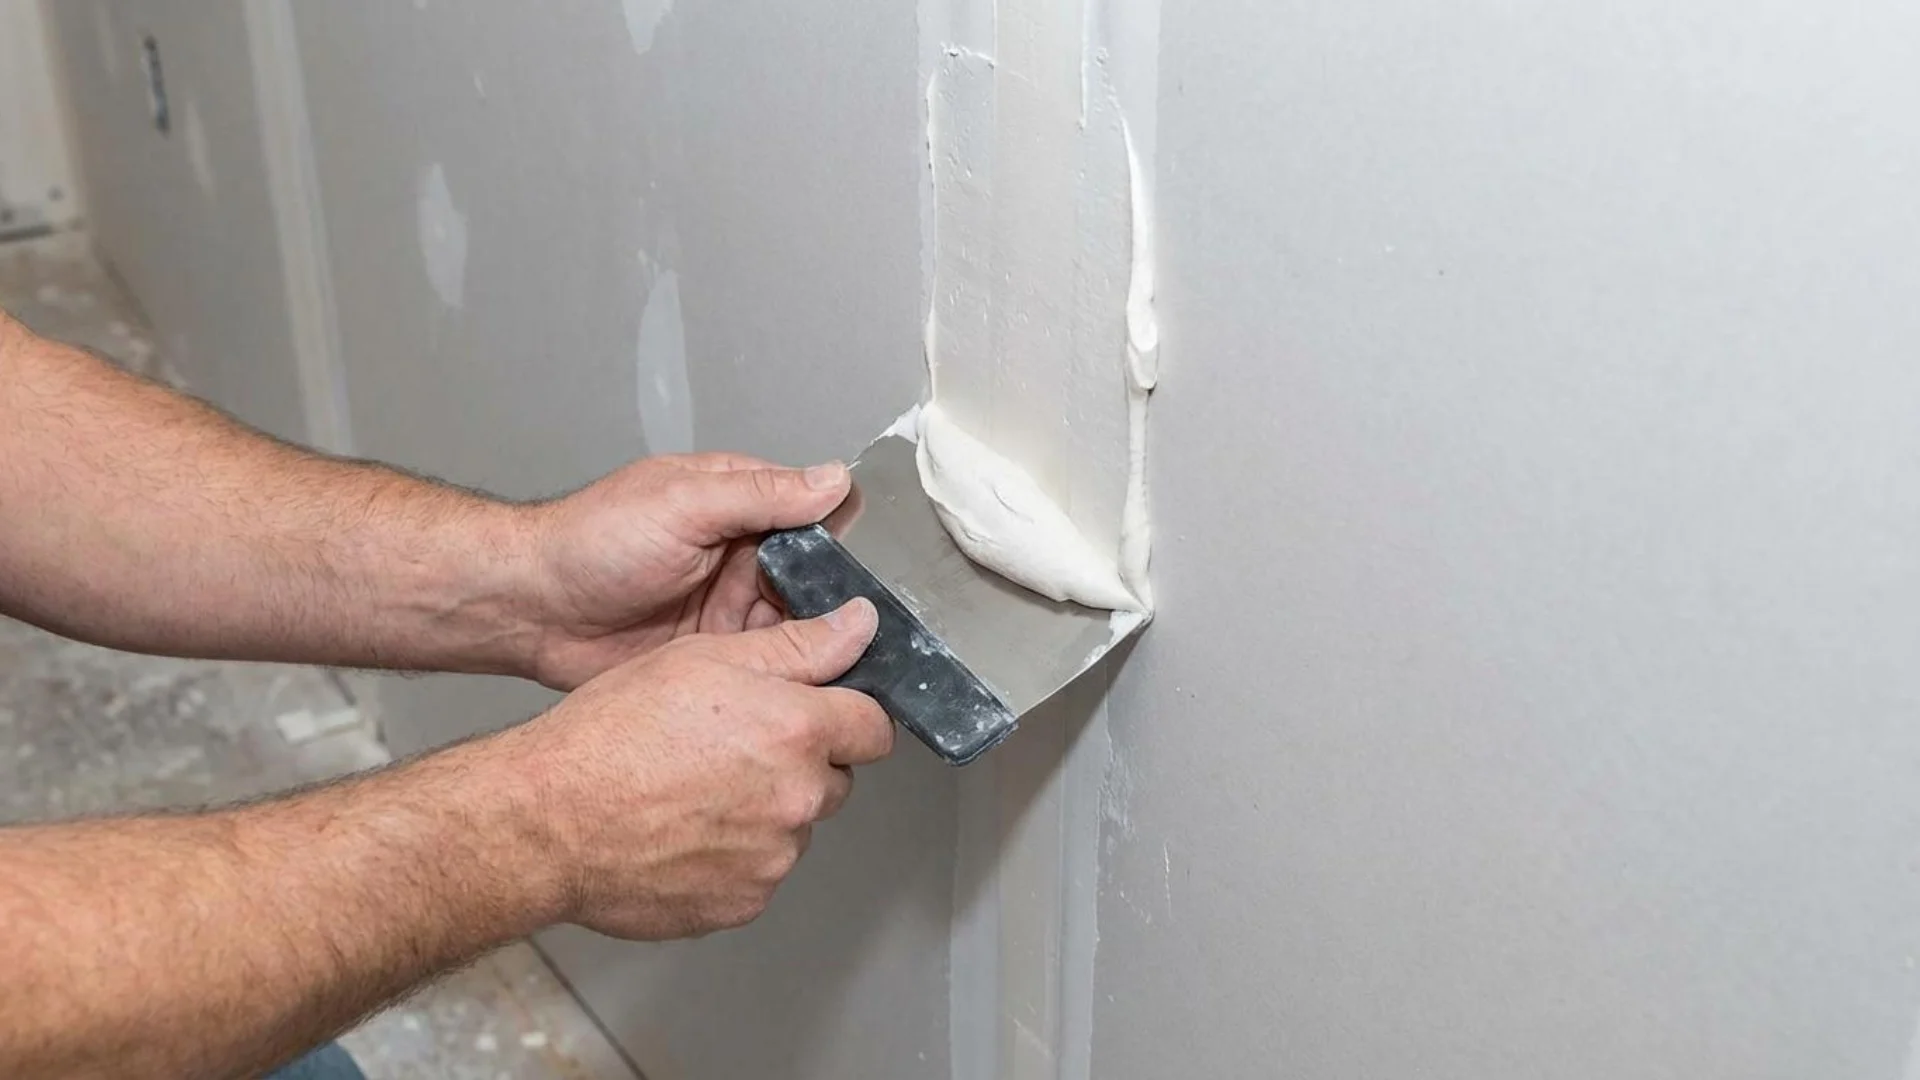
Joint compound covers the tape and widens beyond the seam with each coat. We spread it smoothly across the board, building the area gradually. This softens the transition between the joint and the surrounding drywall before sanding.
Filling Fastener Spots
Fastener heads leave small depressions that need filling before decoration. We cover each spot with suitable compound and level the material with care. Further coats may be needed until the filled areas sit flush with the board surface.
Treating Inside Corners
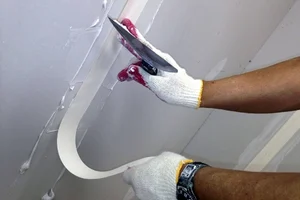
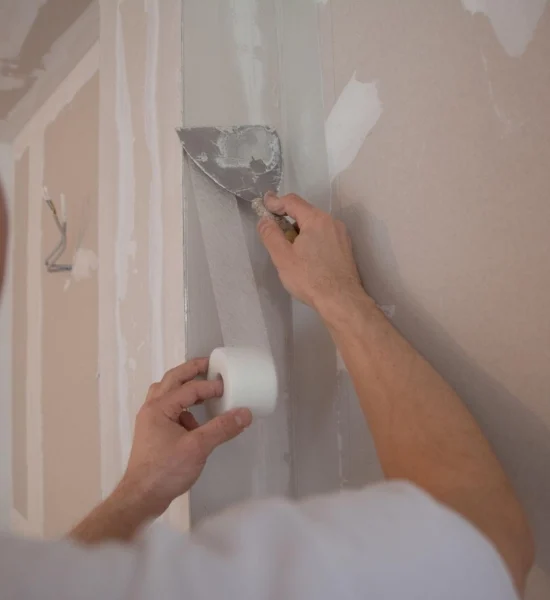
Inside corners bring two drywall surfaces together and need neat treatment. We fold suitable tape along the centre, place it into compound, and work each side carefully. This gives the corner a clean line for later finishing work before paint.
Allowing Compound to Set
Compound needs proper drying or setting time before the next step. The time varies with the product and room conditions. We follow the product directions, then apply another coat or sand when the treated area is ready.
Checking the Finished Surface
After the final coat dries, we inspect seams, corners, fastener spots, and nearby areas. We look for ridges or marks that need more work. The surface then moves toward primer and paint when it meets the project needs as planned.
FAQs
Taping and mudding treats drywall seams with joint tape and compound before the surface receives its final finish.
Joint tape helps cover and reinforce the meeting point between drywall panels when used with suitable joint compound.
Drywall mud is a common name for joint compound used to cover seams, fastener spots, corners, and other areas.
Drying time depends on the compound, coat thickness, temperature, moisture, and other room conditions. Product directions should guide the timing.
Many common paper tape systems use more than one coat of compound. CGC guidance describes a three-coat process for its paper joint tape system.
Yes. Inside corners can receive tape and joint compound as part of the joint treatment process.
Yes. Joint compound can be used to fill fastener depressions and bring them level with the drywall surface.
Sanding may be used after the compound dries to remove marks and help create a smooth surface.
Yes. Suitable drywall joint treatment can be completed on interior ceilings and walls.
Contact J.T. Painting and Drywall Solutions Ltd to discuss your drywall seams, corners, or other finishing needs.